How We Build a Biodigester: Site Prep to Finished Plant
A biodigester is only as reliable as the work that goes into it before it's ever fed a single load of waste. Long before any brick or bag of cement arrives, we assess the site: how close it is to the household's livestock and kitchen waste, whether the ground can support excavation at the required depth, and how gas and slurry lines will run from the tank to the kitchen and the fields.
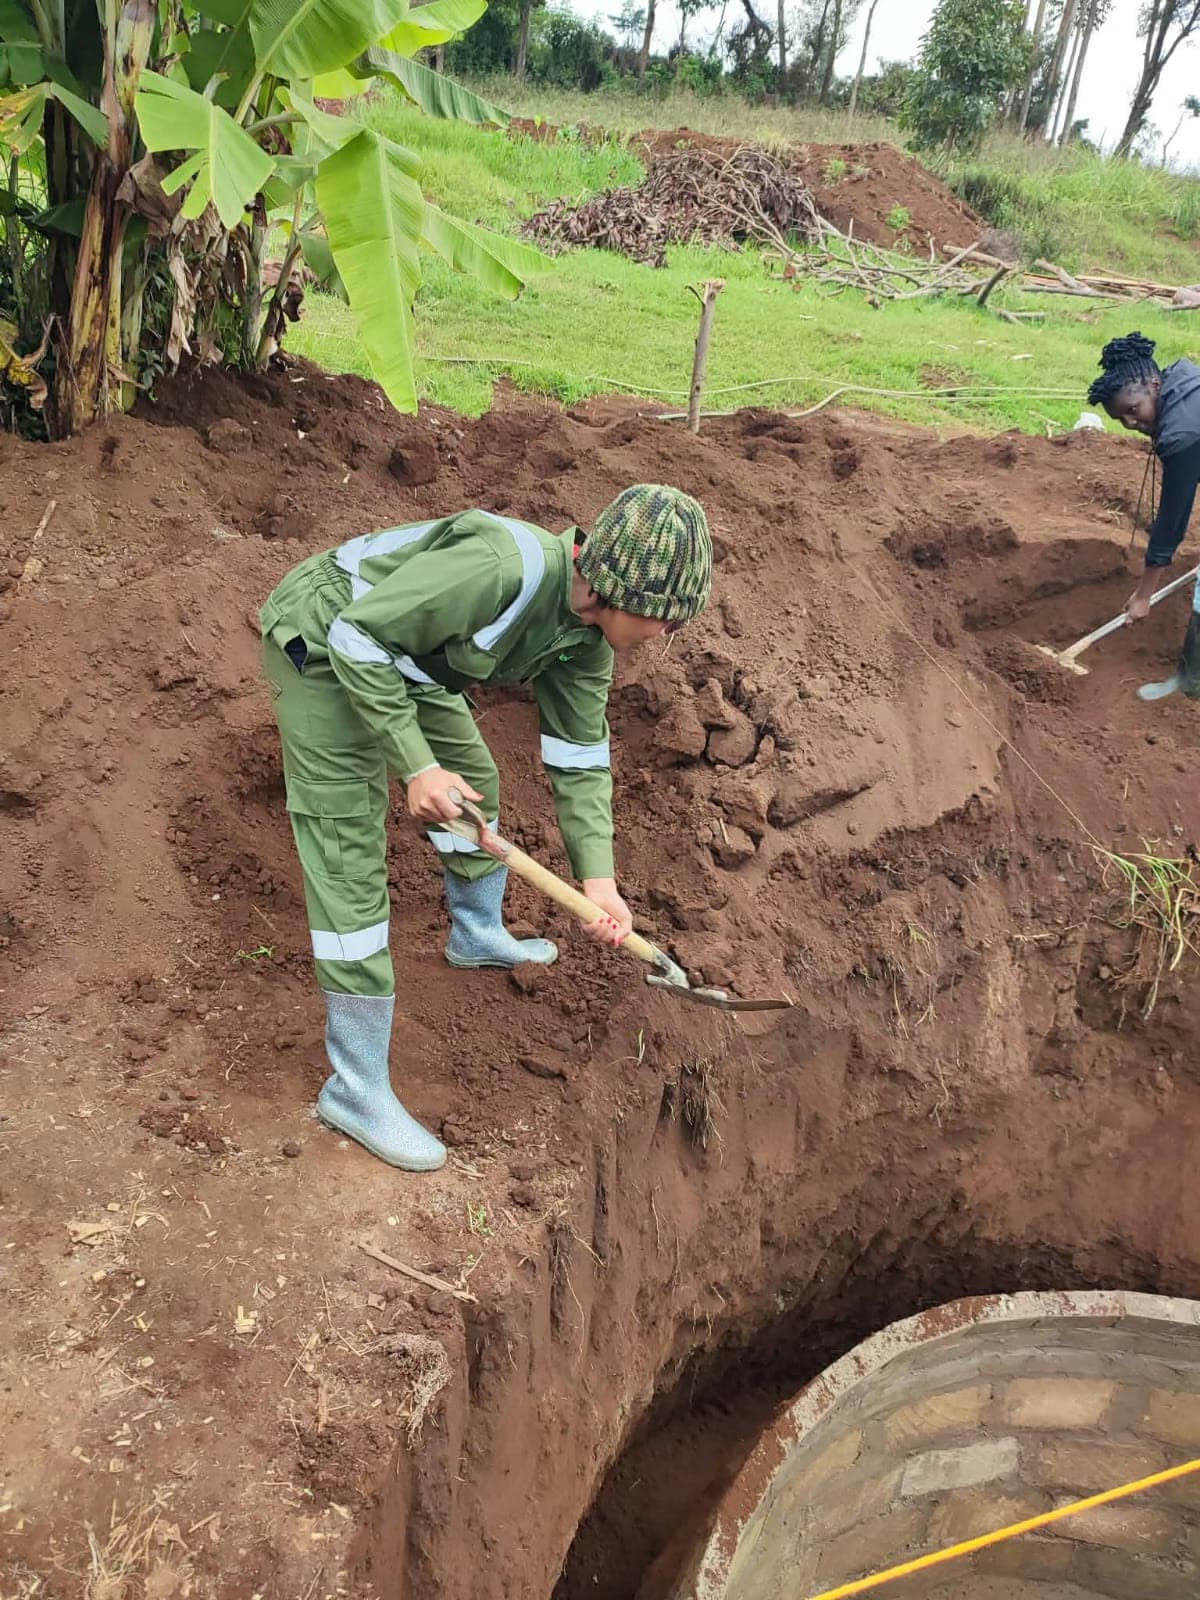
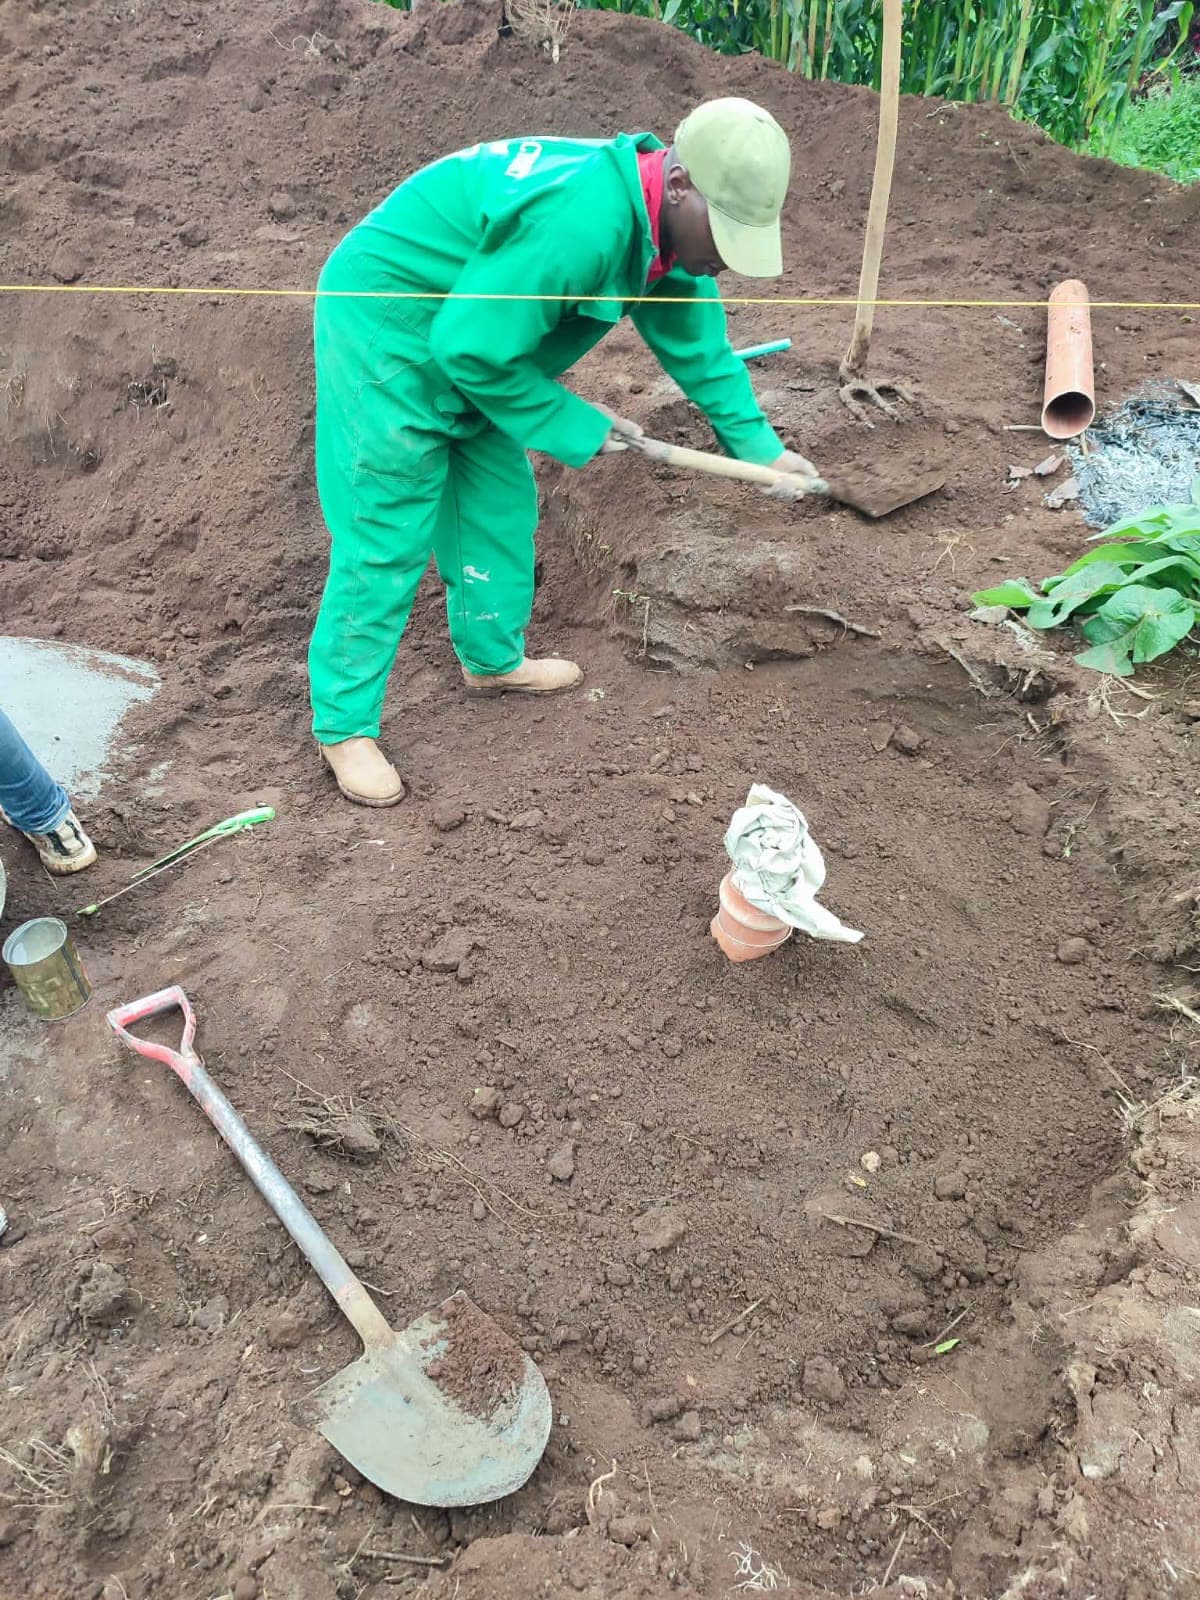
Once a site is chosen, we mark out the tank and excavate to the correct depth and diameter for the size of digester the household needs. Getting this stage right matters more than it looks — a tank that's the wrong size for the household's actual daily waste output will underperform no matter how well it's built afterward.
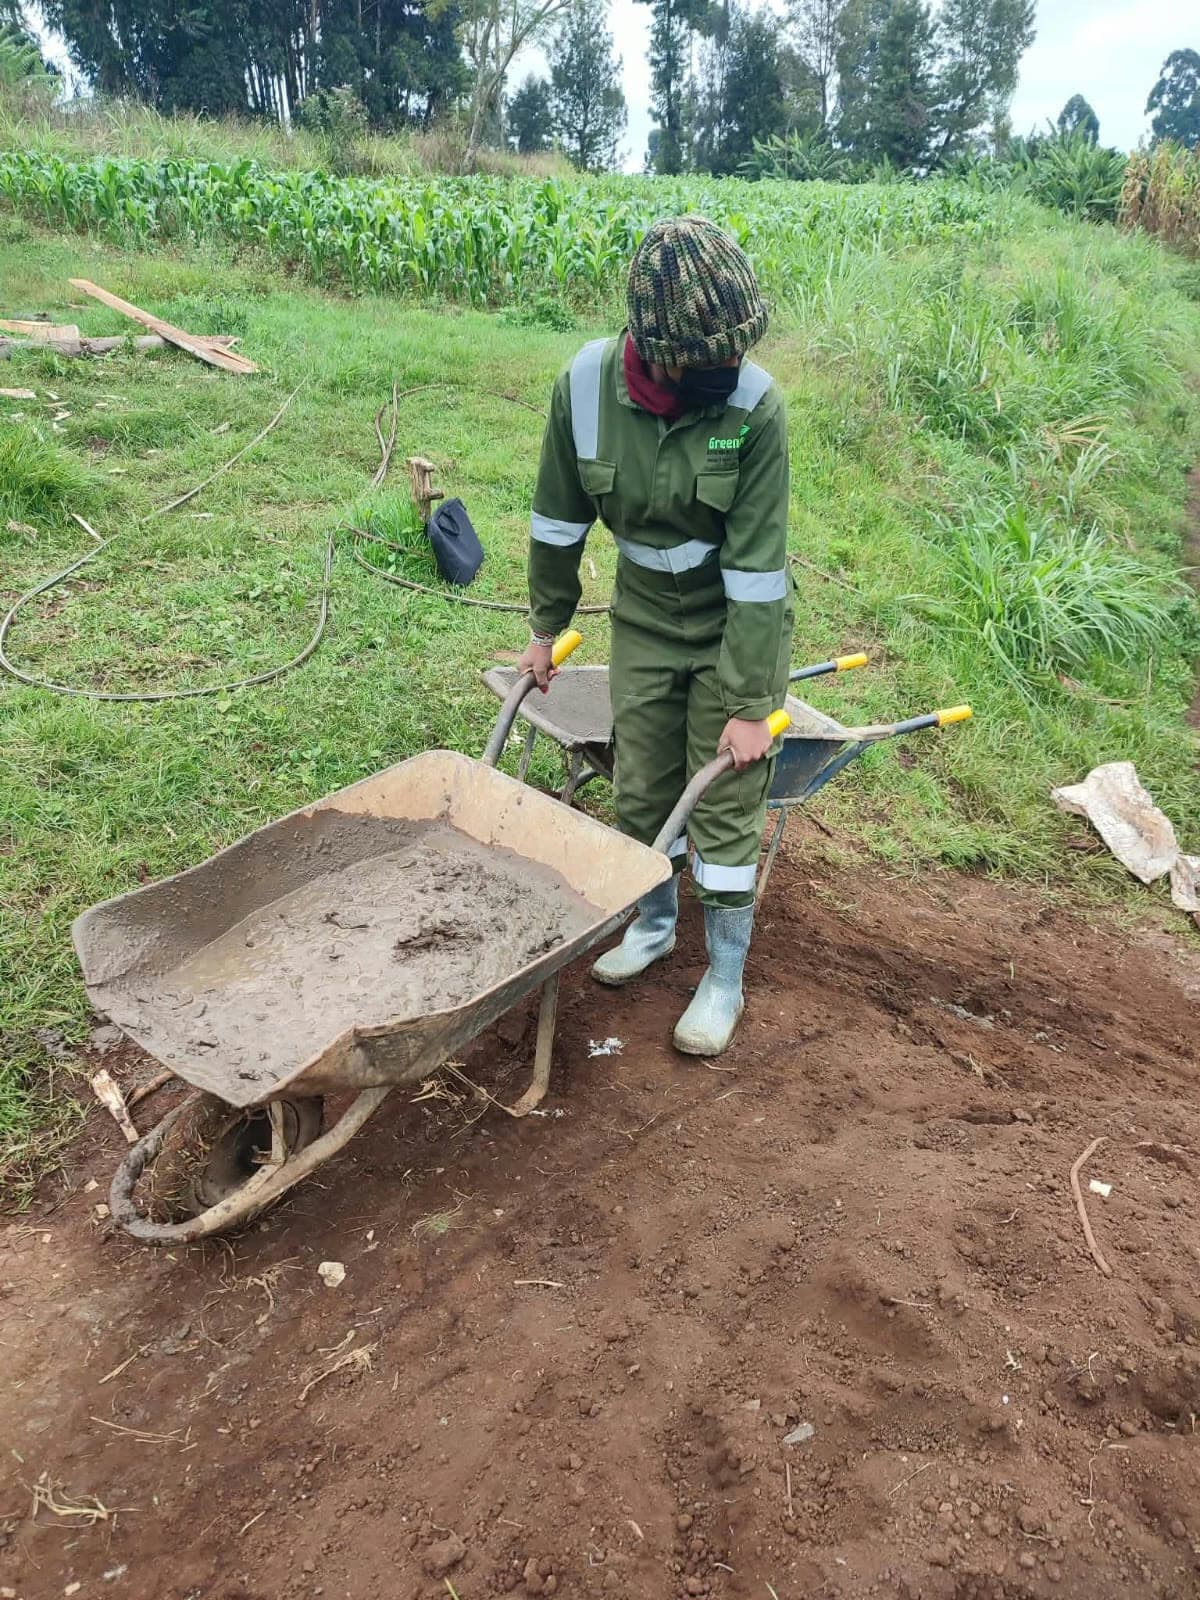
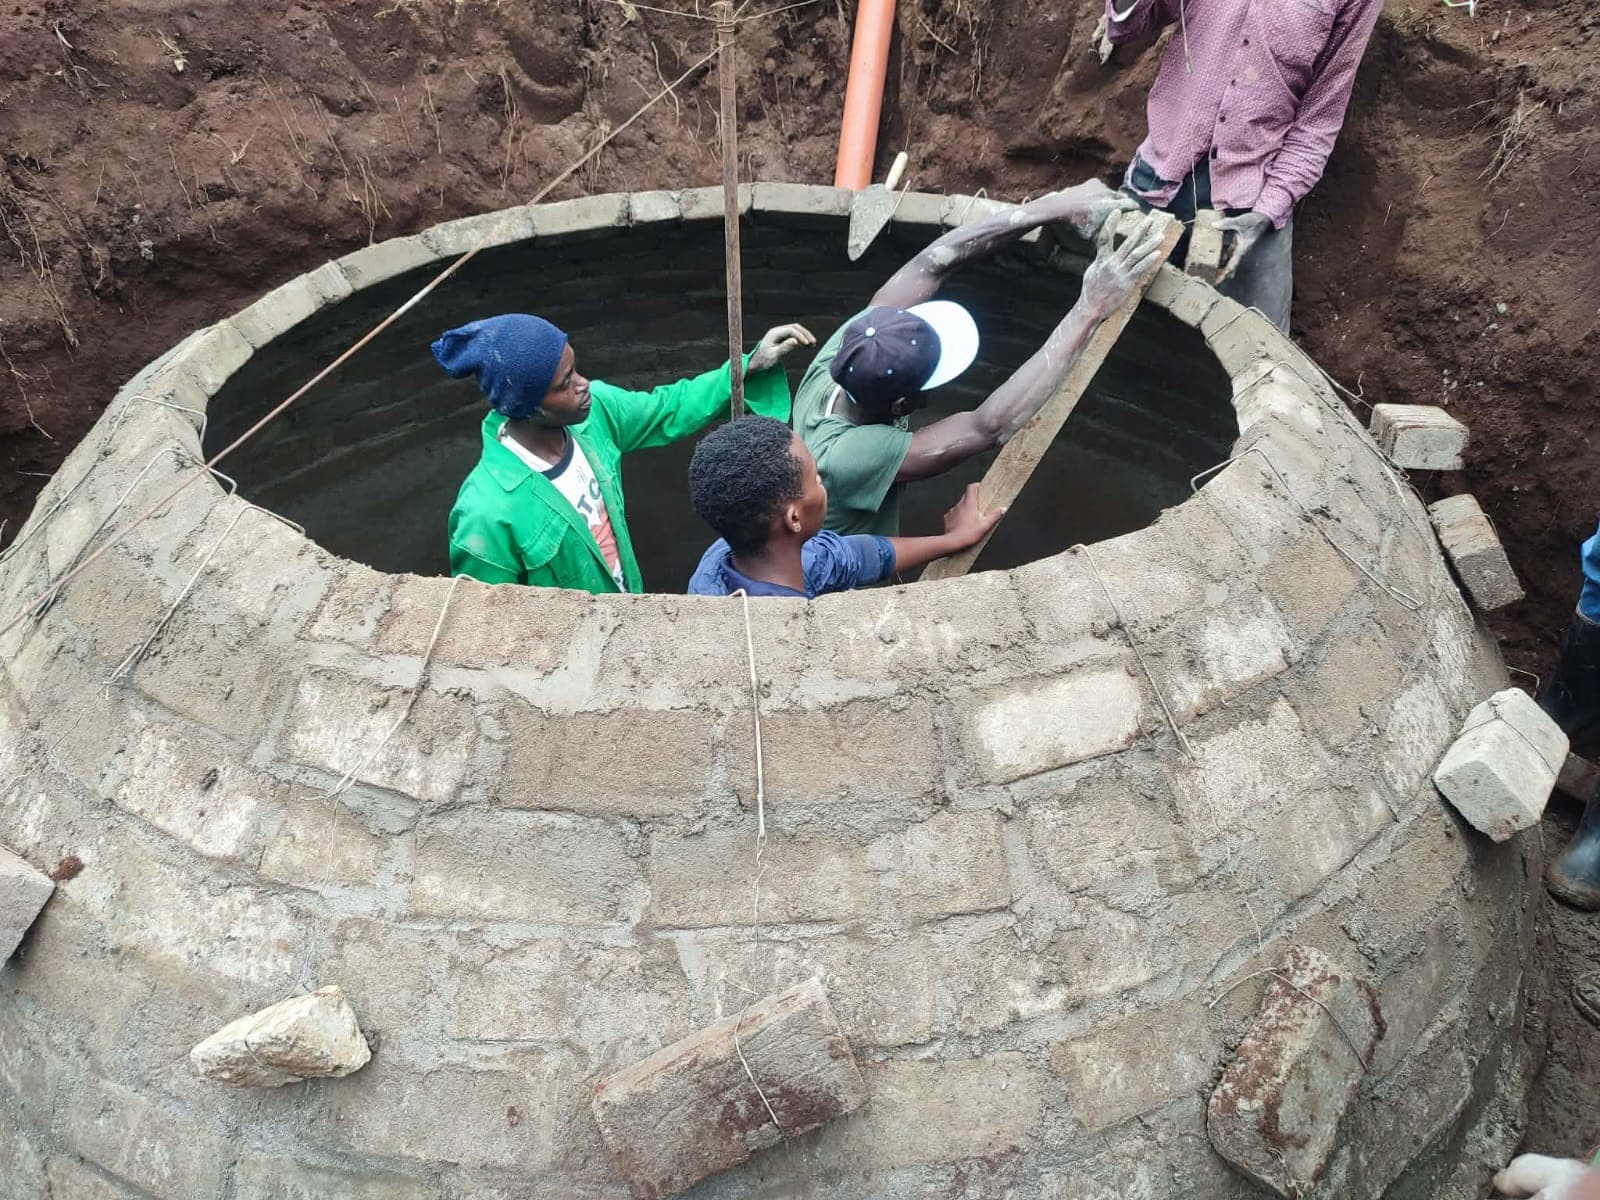
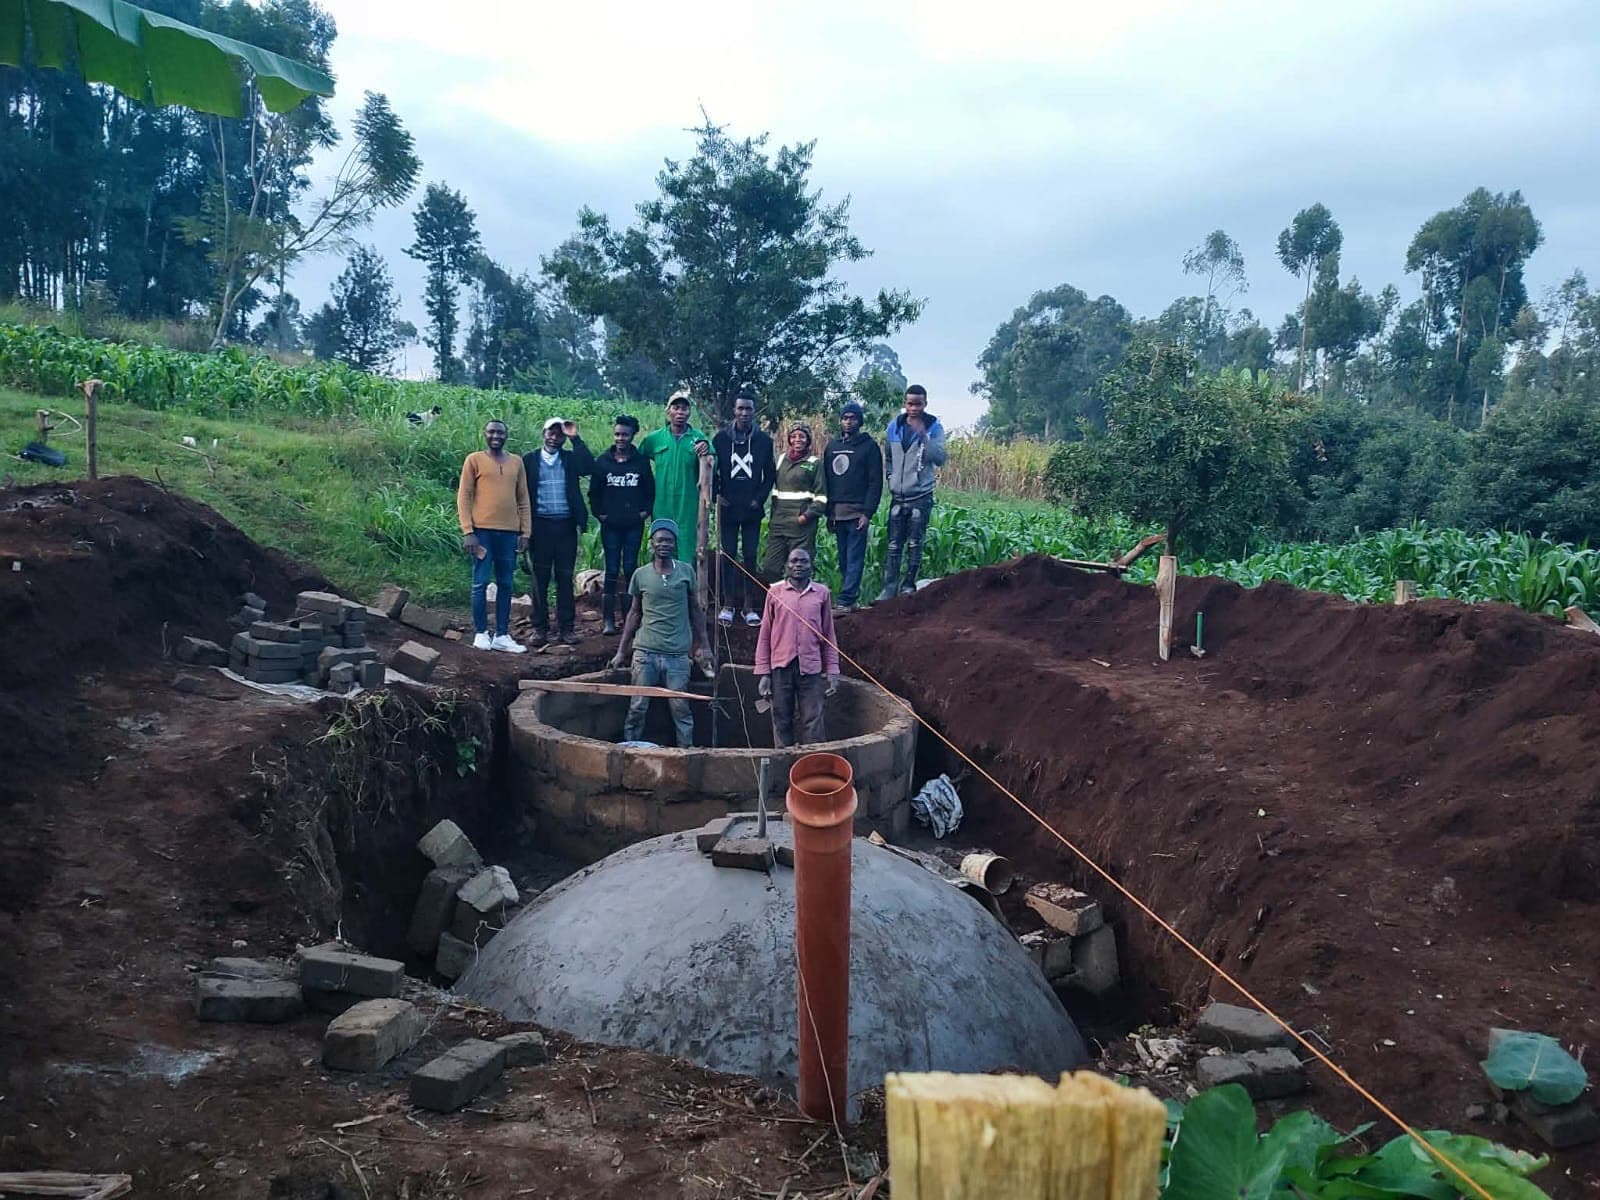
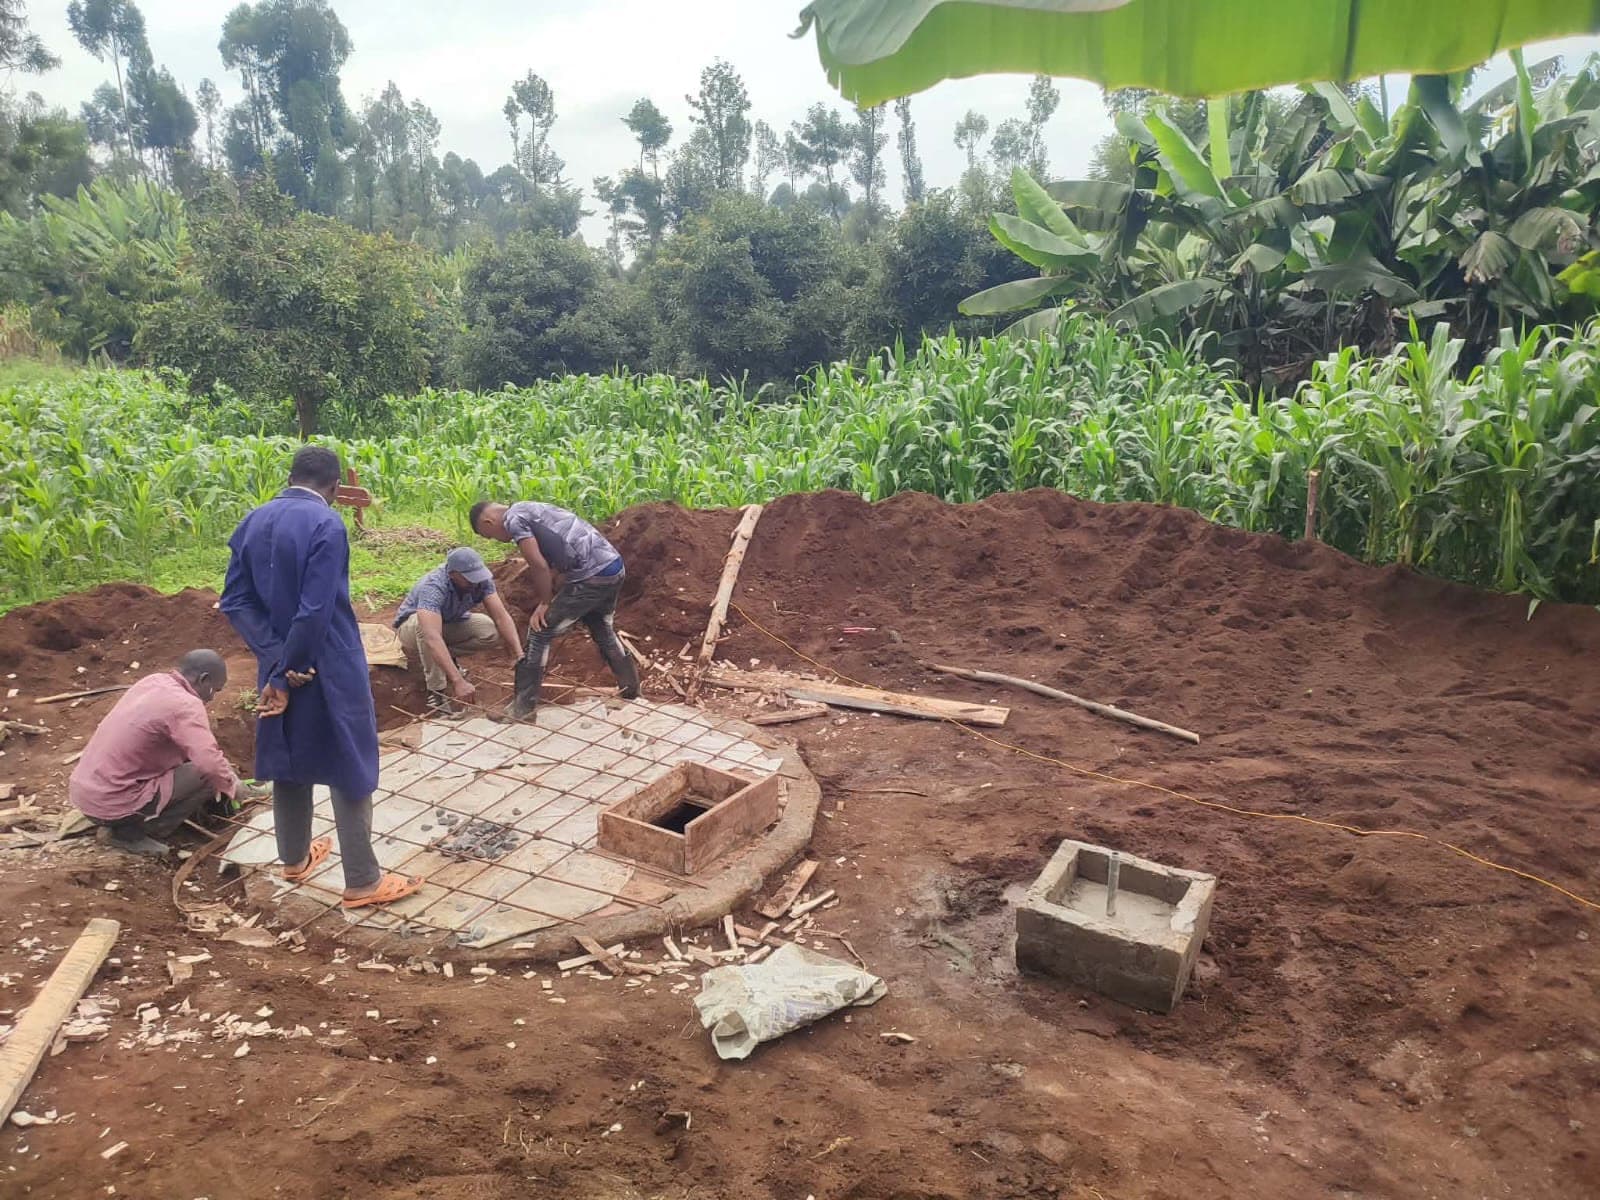
From there, the shell goes up. Depending on the site and design, that's either a reinforced concrete ring or, as shown here, a brick-and-mortar dome built course by course and plastered inside and out. The inside plastering is the most important quality step in the whole build: any crack or weak seam in that seal is a future gas leak, so it's finished carefully and left to cure properly before anything else happens.
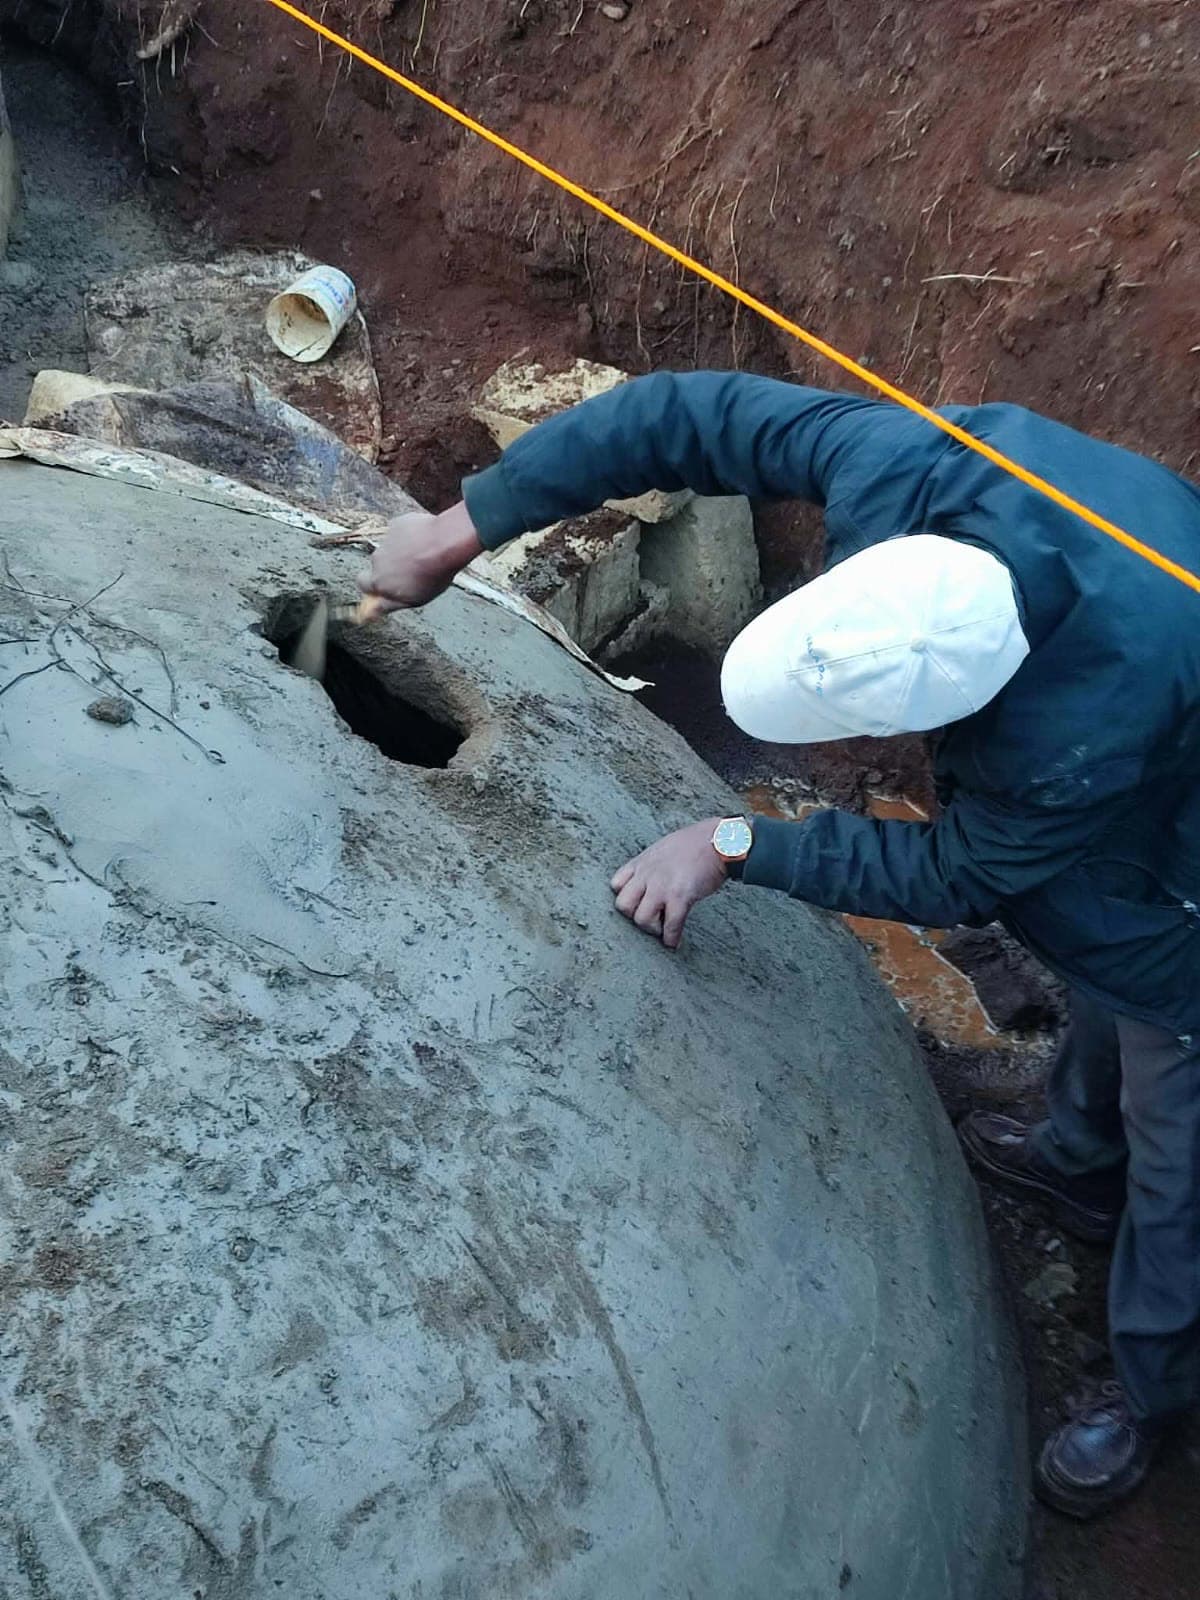
Once the shell has cured, we fit the inlet pipe, outlet, gas valve, and inspection hatch, each checked individually before the system is connected to appliances and tested as a whole. The inspection hatch in particular gets its own careful fitting, since it's what allows the tank to be serviced later without disturbing the seal.
Only once every part of that sequence has been done properly do we connect the system, walk the household through operating it, and hand it over. It's a slower process than it needs to be if you're cutting corners — but it's the difference between a digester that runs reliably for years and one that causes problems within its first season.